Last week, I decided it was time to pull out the sewing machine to make a holiday dress with the lace I bought in D.C. Originally, I had planned on using Simplicity 2648, but didn't like the princess seams going down the skirt front. (It would make it really hard to match the scalloped lace hem edge.) Instead, I reached for Vogue 8667, which I've had in my stash for a year.

I chose the simple sheath dress version with no cowl and sleeves.
The black lace on my left was used:

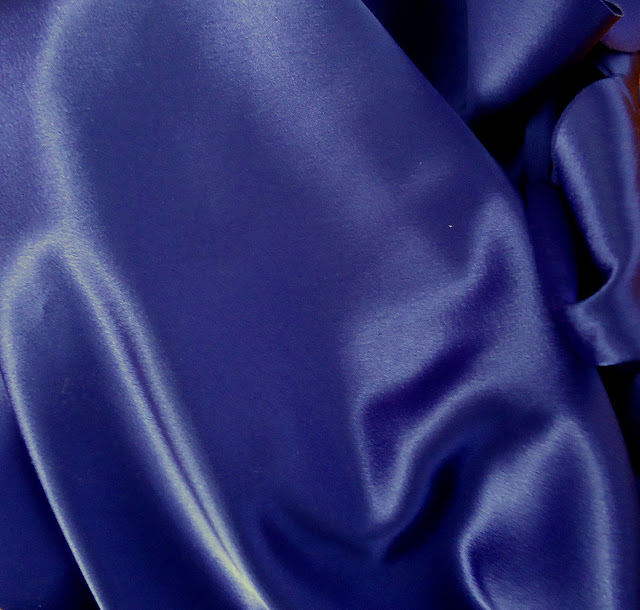
Along with a deep blue crepe back satin (poly) as the underlining. (The camera didn't do it justice.)
I cut out my crepe back satin pieces and used Gertie's method for attaching the lace. It's really important, especially for the skirt pieces, that the lace placement is just so. I basted the lace to the stain and then blind hemmed only the satin, leaving 1" of the scalloped lace edge showing.

If you look closely, you can see the basting around the edge. I also basted around the waist darts.
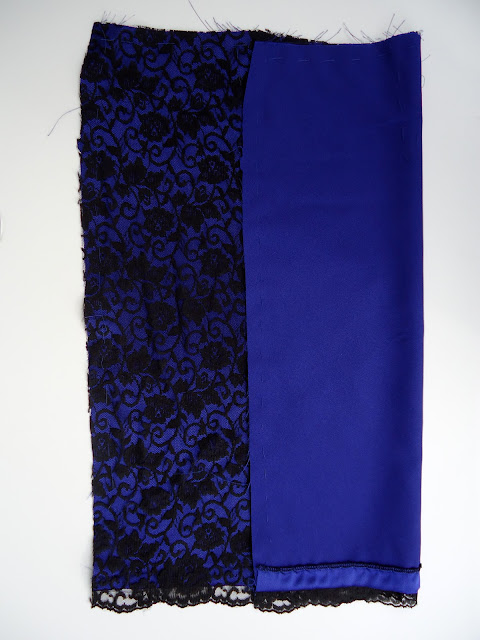
Hemming is usually the last step in the construction of a garment, but since the lace edge will not be hemmed, this had to be done first.
I did make a few changes to the pattern. I raised the neckline and removed 1/2" from the center front. I lengthened the bodice torso by 1/4". (I have a short waist, so those of you who have long or normal trunks, beware!) I took 1 1/2" out of the skirt front and back. I hemmed the satin 1" shorter than the lace edge.

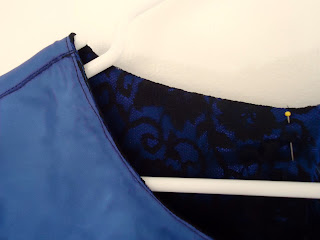
Since I did a muslin first, the fitting was really easy and I had the sheath constructed in no time. The picture below shows a partial lining:

I chose not to fully line it. Lazy! Well, mostly I felt that the bodice lining is functional, to cover all of the princess seams. A skirt lining it is just preference. My fabric is thick enough that I don't really need a slip, anyway.
I used the lining to finish the neckline. Before I sewed this seam, I attached stay tape at 5/8" on the top of the lace/satin layer around the neckline. Gertie explains how to do this here. I had never done this before, but I thought it really enhanced the look of the neckline. That, combined with the under stitching made the neckline behave and the lining is not even tempted to poke out to the right side. Score!
All that is left to do is insert a zipper and the sleeves. I've decided to use an invisible zipper, not a centered zipper. I'm going to insert short sleeves with a longer lace sleeve overlay.
